How to Organize Your Desk
The most popular request we get (by far) is to help organize a desk in the home office.
With so many digital advancements and apps to help us go paperless, it seems to me there would be less paper in our lives. Right?
Wrong.
Paper still comes to us from every angle and even organized people have times when their paper builds up. Life happens and our desks are totally neglected and in desperate need of love.
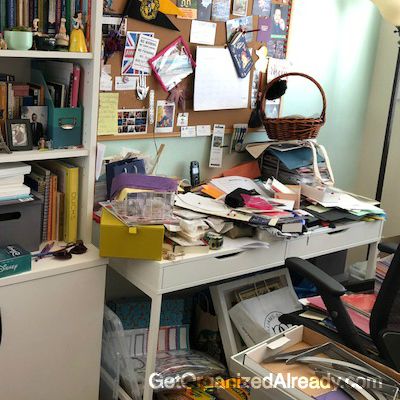
Is your desk a scary vortex?
Let’s fix that action. Here is a quick run-down of how to organize your desk and tame those piles of papers.

STEP 1: Corral the piles of paper on and around your desk
The obvious problem on your desk is paper: random papers floating around and piles of papers everywhere. In order to think straight and be able to make some decisions about where to start and where you want things to go, clear your surfaces.
Put the paper in a sturdy (not plastic) shopping bag, a banker’s box, or a clothes hamper. It doesn’t matter where you put it, just get it out of your way.
STEP 2: Cull your filing cabinet and storage areas of old, irrelevant papers
In order to make room for a logical, easy to access system for current papers and bills you need to throw away the old stuff.
Yes, this step is going to take a while. It may take a few hours. To speed up your process, here’s a list of complete files you can recycle easily, without much decision making.
HOME OFFICE FILES TO TOSS
- expired insurance policies (previous years’)
- old utility bills (previous years’)
- investment reports
- filed tax receipts older than 3 yrs (keep the returns)
- records from cars and pets you no longer own
WORK FILES TO TOSS (or move)
- dead projects
- contracts from companies you will no longer work with
- old utility bills (previous years’)
- outdated client files
- et cetera. You know what you don’t need in your main files, what’s obsolete or finished
There will be lots of stuff you can toss from your filing drawers because like most people, you probably only use 20% of the files in your filing cabinet right now. You can expect to throw out up to 80% of your files if you are objective about what you really need to keep.
HELPFUL RESOURCES
- Our great, follow-along video I hate filing: Simplify your household files in 25 minutes will walk you through a more detailed culling of your files.
- This list from Suze Orman tells you specifically which papers to keep and which to recycle or shred.
- If you are self-employed use this list from the IRS to determine which papers to keep or toss.
If you want to do a more thorough job cleaning out your files, most filing cabinets take over an hour per drawer! Be prepared for this to take awhile.
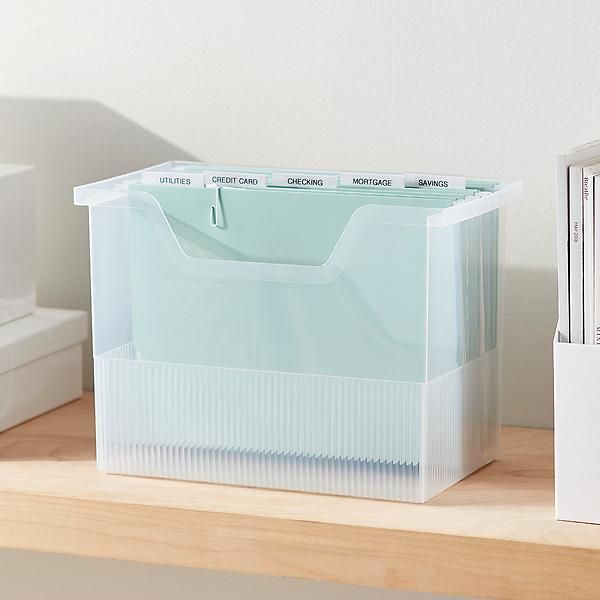
STEP 3: Clearly label the files you’ve kept
-
I’m sure you have a system for labeling your files in the drawer. Great. Do that. Whatever filing style you use, let me offer these suggestions:
- Simpler file labeling
- Don’t color code the folders. Easier upkeep.
- Use broad categories/fewer tabs
- Use general titles for hanging folder tabs and write more specific titles on your interior folders
- Keep tabs all on one side for easier searching
There are so many ways to label files. Different brain types and personality types will prefer systems I don’t like. If something has worked for you in the past, go back to that. Just because your desk became a disaster doesn’t mean the system isn’t right for you. It may be you fell behind and just need to get back on track.

STEP 4: Find a place for every item on your desk
Many of the items ON your desk belong IN your desk drawers. This follow-along video, The secret to keeping your desk clean, can help you make room in your desk drawer for things that are cluttering up your desktop. Watch it!
One great way to organize your desk is to remove everything on it. Put away the items that belong in a drawer or cabinet, and leave out only what you truly use each day. Store things on your desk in a way they make sense to you: near where you’ll use them, according to frequency of use, and like with like. Containerize things you are keeping on the desk if you like things to look more tidy.

Keep on your desktop only things you use daily.
You might use some bowls and containers from the kitchen for paper clips and make a shopping list of things to buy to use permanently. For most of you, you’ll have everything you need already. Do not shop (!!) until you are finished organizing.
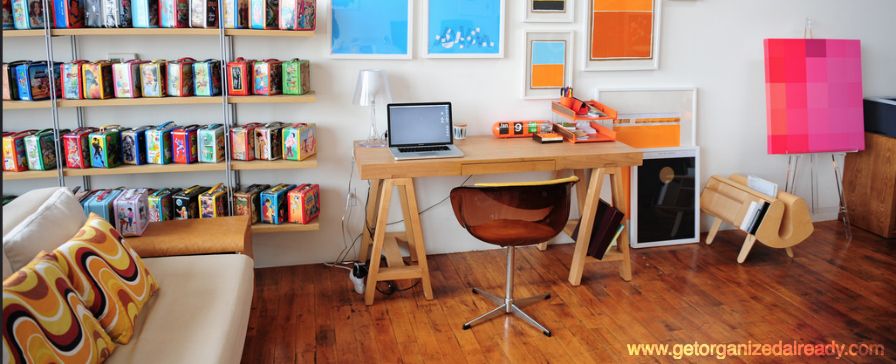
Your goal is to have a desk which is much more conducive to working and everything is easy to find.

Where to put current projects
Create a file or 2 at the front of your file drawer for current projects. Label the hanging folder something general like “working on this” or “this week” and “tomorrow”. Then place the papers for that project (including the manilla folders if you use those) in the folder. Once that project is done, use the file for the next project.
If you like to have things more visible– you feel like you will FORGET about the project if it’s in your drawer– I like these vertical desktop filers because they have a small footprint.
Having a home for everything you use is the secret to keeping your desk tidy.
Organizing your desk is pretty easy; it’s organizing the whole office that’s the time-consuming part! But you have to make room to put the papers and supplies you DO need.
Thanks so much for reading.