How to Organize a Kids’ Clothing Swap

Just as we wrap up back-to-school shopping, the seasons change again. But shopping for winter clothes for your kids doesn’t have to break the bank. This year, skip shopping altogether and organize a kids’ clothing swap with friends, neighbors and the parents of your children’s classmates.
A kids’ clothing swap will give everyone a chance to clean out their kids’ closets, reorganize their winter wardrobes and swap clothes that no longer fit for new(ish) outfits. Use these 10 tips when organizing your kids’ clothing swap with other parents (or for an adult clothing swap).

1. Invite friends and neighbors with children around your kids’ ages/sizes. Though it may be tempting to include everyone, try to limit the amount of clothing you’ll have to organize. Keep the age group to a span of 3-4 years. For example, if your child is a size 6x, invite parents with children who wear sizes 5-8.
2. Host your swap in late October or early November. You’ll want to time your party just as the crispness of fall turns into the chill of winter. Most parents shop for winter clothes around that time and it’s also a good time to clean out closets. Everyone will be excited to find new pieces for free!
3. Publicize your event on social media to help spread the word. Allow guests to invite friends. If you have room for a few extra people, encourage those you invite to extend the invitation to others. The more parents you include, the better everyone’s chances of walking away with the perfect winter outfit. A productive swap involves 3-8 families.
4. Send invitations a month in advance. Your invitation doesn’t have to be formal, just send a quick email or create an event on Facebook to let guests know about your clothing swap. Give other parents time to sort through their kids’ clothing and RSVP.
5. Set a minimum and maximum for items to bring. If you request that guests bring at least 5 items, you guarantee you’ll have a good selection with some variety. A maximum of 5 bags per person prevents you from being inundated with t-shirts, shorts and skirts to sort through.
6. All clothing should be in good condition. Encourage guests to clean out pockets as well as wash the clothes before bringing them to the swap. Any item that’s been damaged or stained should be thrown away, not traded.
7. Make it a potluck! Skip the hassle of making hors d’oeuvres and ask guests to bring a snack or drink to share. For more tips on potlucks, check out my article, Potluck or Pot-suck?
8. Don’t forget accessories. Kids need more than sweaters and jeans. Gently worn shoes, boots and belts make great additions to your clothing swap. Accessories ensure everyone walks away with something new to take home.
9. Group similar items together. Clear the clutter from your living room to make room for the clothes. Designate one corner for shirts, another for pants and another for outerwear. Use other rooms for other categories if you can. Display items on a table or use a garment rack to hang clothes.
10. Donate the extras. After your kids’ clothing swap, schedule time the next day to take any unwanted items to a local charity, such as Goodwill or your local thrift shop. (note: Out of the Closet doesn’t take kids’ stuff.) If you have a lot of clothing to donate, request a free pickup to save on time.
Clothing swaps are always a crowd pleaser. Let me know if you have any stories or other tips and ideas in the comments below.
Thanks for reading,
Nonnahs
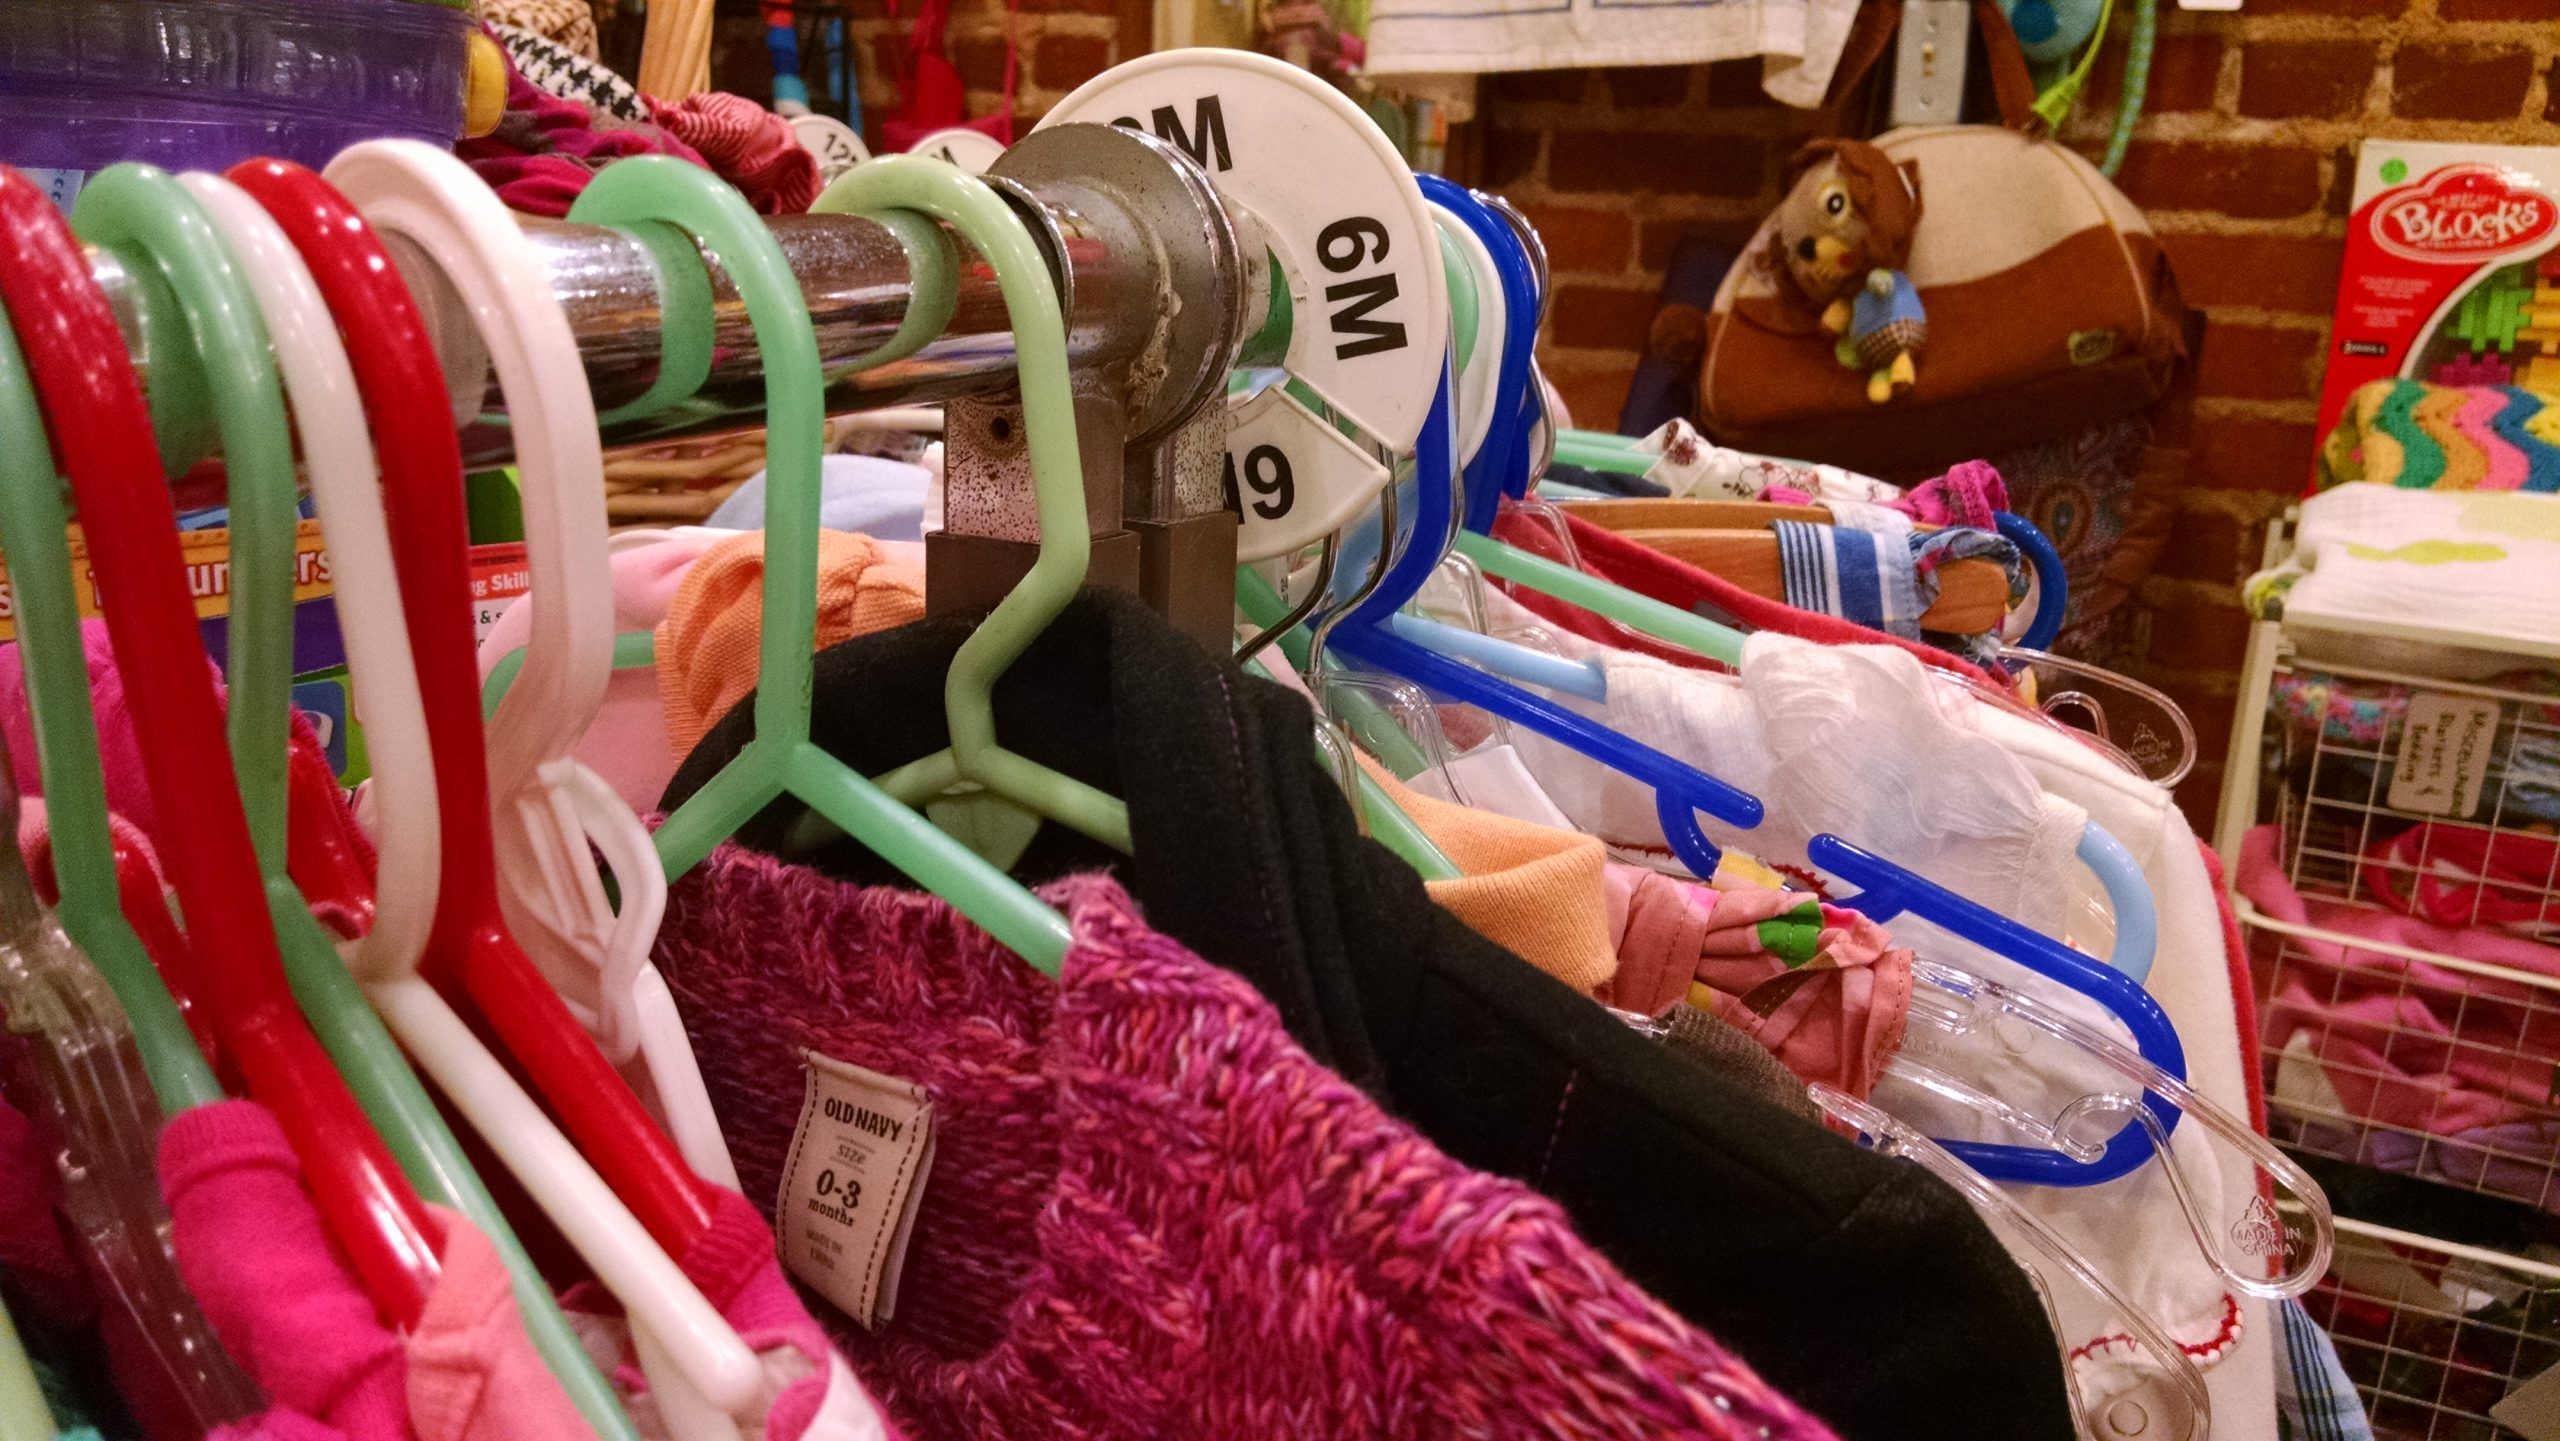
These photos were taken at Grow Kid Grow in Silver Lake, CA, a favorite place to shop for gently used children’s clothing and accessories.